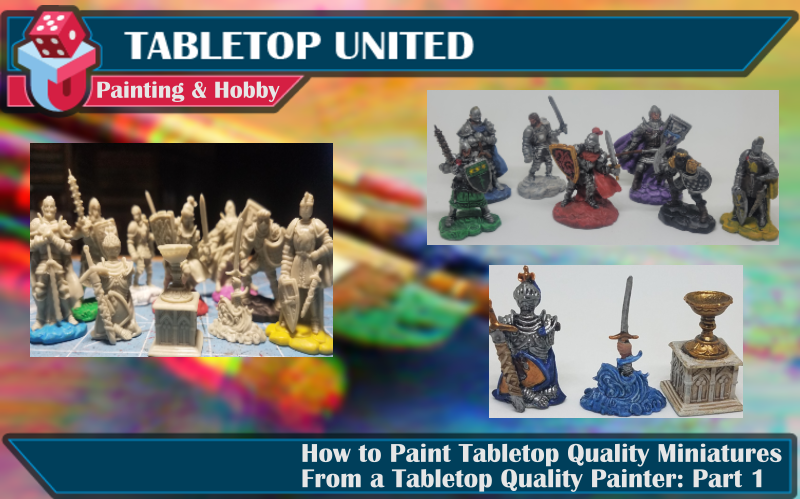
How to Paint Tabletop Quality Miniatures from a Tabletop Quality Painter, Part 1: Supplies, Prep and Priming
Why paint your miniatures? Many games in most people's collections come with plastic miniatures to give the game more visual interest and maybe, in some cases, to draw people into a game that they might otherwise overlook. Regardless of the reason, many gamers love having miniatures included in the components of thier games. However, most times that I play these games, whether they are games that I own or at a friends house or a gaming gathering, it's with plain, unpainted miniatures. While unpainted miniatures do not normall detract from gameplay by any means, breaking out a game with painted miniatures really adds a bit of flavor and is sure to draw more interest from fellow gamers.
The kicker is, painting your miniatures doesn't have to be particularly difficult or time consuming. One of the biggest misconceptions in miniature painting is that you don't have the talent or artistic abiity to paint well enough for them to look good. Let me state for the record, in my opinion painted miniatures are always better than naked plastic. Painting miniatures has very little to do with talent or artistic ability unless you are painting for competitions or show pieces. Instead, painting miniatures is more about using techniques, methods and materials that help the painter to fool the eye into thinking that every detail on the miniature has been meticulously painted. You don't lack talent and artistic ability, you lack the confidence and know-how to paint your miniatures to a level that they look good on the table and give your game some extra pizazz! What I hope to do in this series of short articles is to give you the knowlege and confidence to paint your miniatures and up the pizazz of your favorite games.
As I stated before,the majority of miniature painting at the tabletop level is fooling the eye into thinking that you painted every detail meticulously. Increasing shadows through shading creates depth while highlighting raised features by dry brushing brings out the details. These techniques are relatively easy to master without spending a lot of time on your minis and really add a lot of pop to your miniature painting.
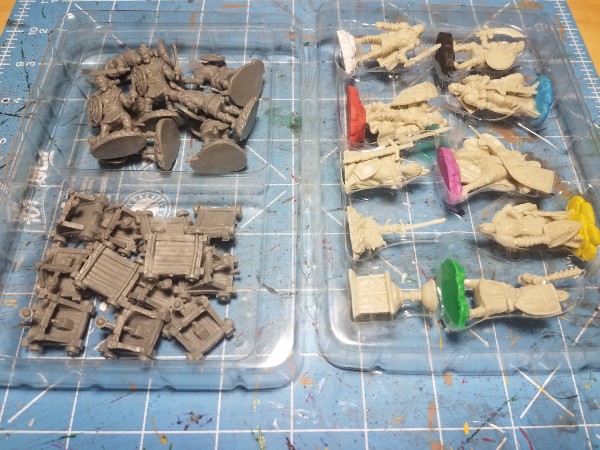
The miniatures that I will be painting in this series of articles are from the Days of Wonder game Shadows Over Camelot.
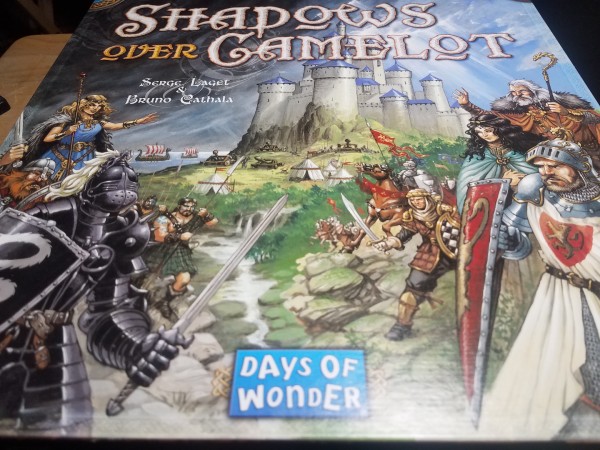
The game comes with miniatures for the Knights that the players will be using as well as various other items: the Picts and Saxons, special Quest items and catapults.
In part 1 of this series, I'm going to focus on three main areas: 1. Supplies - what you'll need in order to get started painting, 2. Prep - what you'll need to do to get yourself and your minis ready for painting, and 3. Priming - how to use primer to achieve the best effect for your painting.
Supplies
The first things that you'll need in order to paint miniatures are obviously paints and brushes. Let's start with paint. Most probably the paints that will work the best for you will be an acrylic paint. These paints are water-based so are easy to thin with water and also to clean up. Some use enamals such as Testor's (I used to use them myself) but they are a bit more high maintence as you'll need paint thinner to do much with them and for use in cleanup. Also enamals are much more permanent and difficult to remove if you want to start over on a particular miniature. I am sure that there are other paints that people out there use as well, but for the purposes of this article, I am going to focus solely acrylics. They are easy to get at various levels of quality and prices and are what the majority of miniature painters use. What kind of paint you choose is up to you. There are some who will tell you that craft paints such as Apple Barrel that you can get at most any store with a craft section are fine for miniature painting and if that's what you feel that you want to start out with (or want to try because that's what you have on hand) that's completely fine. Using good painting technique should help you to make these paints work fairly well, but I have not had much luck with them myself. I will say that paints that are intended for miniature painting are made with a finer pigment that will help to give you the color that you want in a thinner, lighter application that won't obscure detail as badly.
I'm not out to promote any particular brand, I personally mainly use paints from the Citadel line from Games Workshop and for this project specificalliy I exclusively used metallics from Army Painter. You can use whatever you like or whatever is available to you. Along with paints from Citadel and Army Painter, there are good quality paints availabe from Reaper, Vallejo, Grinning Gargoyle, Dungeons & Dragons, and others. A lot of miniature painters use an airbrush but I'm not goint to touch on that here. Some of these paints may seem expensive, and they are when compared to the craft brands, but a pot of paint will likely last you a long time (you're painting something very small after all!) and a lot of these brands have starter sets that are actually pretty good deals considering the amount of paints that you get at one time.
As far as the paint types that you'll find out there, again I mainly know Citadel. For beginning painters, I would suggest sticking to bases and layers. It really doesn't matter much between the two types, I often use the two types interchangebly and as I thin down my paints with water, the fact that bases are a little thicker is inconsequential. You'll also want to get some shade paints and in this case Citadel is the best. Nuln Oil is pretty much an essential and I'd recommend it as the only one you REALLY need until you're a little more experienced and want to branch out. The next two that I'd recommend after that are Agrax Earthshade for a more earthy tone to your minatures and Reikland Fleshshade which is a gamechanger when doing fleshtones.
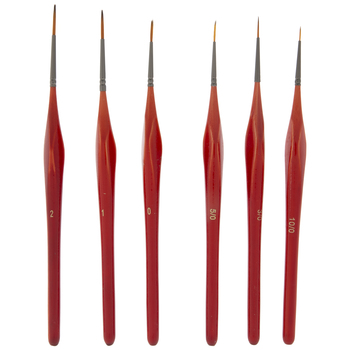
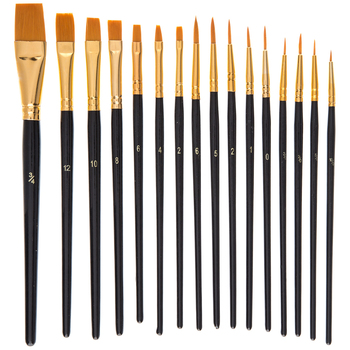
Of course, you'll also need brushes. This is another area that can be fairly overwhelming. Save yourself the trouble and don't buy your brushes at Walmart or the like. You don't have to go with crazy expensive, but at least get your brushes from a dedicated craft store with an actual painting area. You'll be fine buying a brush set for now and I'd recommend finding a set that has a variety of sizes including at the least a size 0, 1 and 2 at the very least. You'll see some sizes such as 00 and 0/10 that are very fine tips. I used to think that for painting miniatures I needed very tiny brushes. With the techniques that I normally use, I find that tiny brushes just aren't that necessary. Look at the brushes in the store and make sure that you're getting brushes with a nice, sharp point. That's really more what you're looking for. If you can find a set with a more comfortable grip, like the ones pictured, those are definitely nice to have.
Also, you'll want a couple of brushes with a flat tip, one smaller (for small areas) and one larger (for large areas). Do NOT spend a lot on these brushes, you'll be using them for washes and dry brushing and dry brushng generally ruins brushes for most other purposes. The set below has a good example of the flat brushes that I'm talking about (and for around $8 at Hobby Lobby, this is a good set to start out with anyway.)
Once you have paint and brushes, you'll need just a few more things. A palette of some sort for thinning your paints and mixing colors, a hobby knife, brush cleaner if you want (I just use dish soap and warm water to clean my brushes), a jar or glass for rinsing your brushes during painting (I use an old mason jar with a screw on lid, this lets me close up my water and use it for mor than one session), and a good, comfortable spot to paint with good light.
Prepping and Priming
Before doing any actual painting on your miniatures, there is a bit of preparation that needs to be done first. The very first thing that I do when getting ready to paint my minis is to give them a bath in some warm soapy water and give them a light scrubbing with a toothbrush or scrubber. Washing the miniatures removes any grime that may be on the miniature and removes any release agents that may have been used to get the miniature out of the mould during casting. Often, my board games have been played several times before I get around to painting the miniatures so this step helps to make sure that I'm starting with a clean slate before I begin painting.
Another thing that you will want to do is visually inspect the miniature for mould lines or any other imperfections that can easily be removed from the minature using a hobby knife. Most times these can be easily removed with very little effort, but always be careful when using a sharp knife.
After your miniatures are clean, you can move on to primer. Primer is important as it creates a bond between the paint and the model that keeps the paint from coming off of the model during use. Some miniature paint companies manufacture primer and I have heard mixed reviews on these products but never used them myself. As a beginner, any rattlecan spray primer should work fine. As for color, I would recommend staying pretty basic. Black primer is good as it will give you shadows in the deep recesses of your miniature that you don't have to worry as much about painting later. White primer will make bright colors pop if you're painting minatures that you want to be bright and fun. Grey primer is kind of the middle ground between the two and should give you some good results. Always read the can of primer to find out what the recommended temperature range for use is for best results and always spray in a well ventilated area. I normally apply my primer outside. In order to make the process easier, I attach my miniatures to a paint stick (which you can normally get for free from the paint area of the store) with sticky tack.
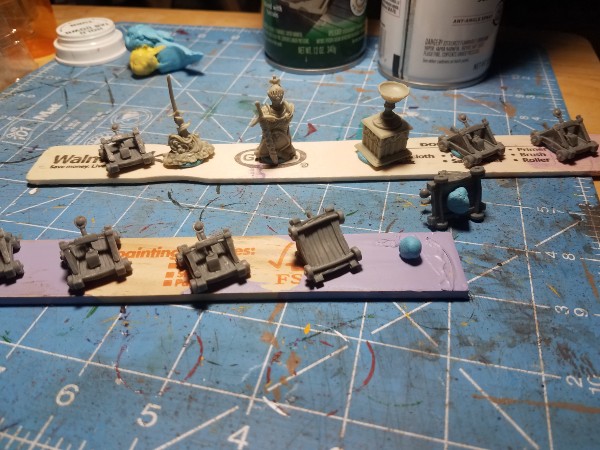
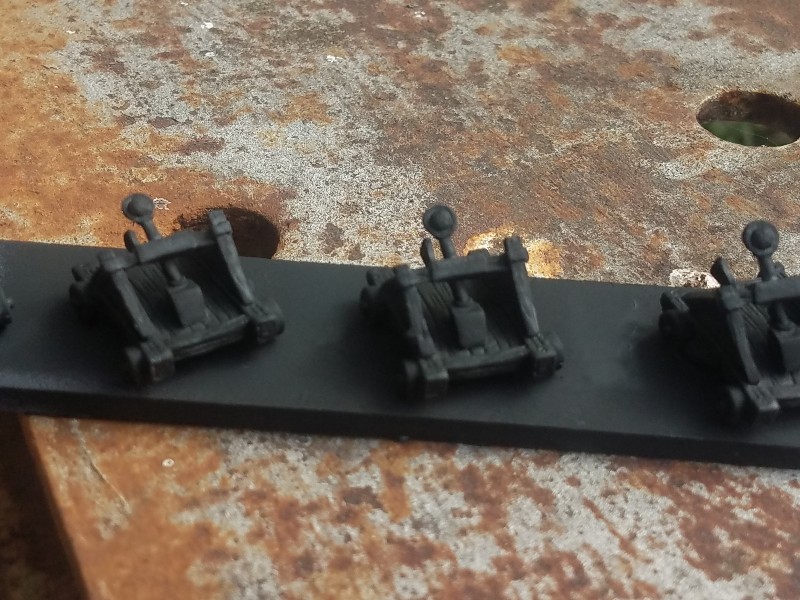
When applying the primer you want to make sure to get it on all surfaces of the miniatures. It's best to apply in short, quick passes over the miniature using the handle of the stir stick to turn the miniatures in all directions. After the miniatures are primed and have had time to dry, you can remove them from the stick, but keep the sticky tack on them as it can then be used to attach the minature to something that is easy to hold while you paint the miniature. I use an empty pill bottle. This gives me something to grip in order to keep the miniature fairly still while painting it and to keep me from touching the miniature.
I'll be back soon with Part 2 of this series in which I will cover the basic techniques to take your miniatures from boring plastic to awesome tabletop miniatures!
Stefan Yates
Stefan Yates is a professional in the Office of Diversity and Inclusion at Kansas State University. Finding ways to work gaming into work, he serves on the university’s Alternate Reality Game Committee and is a co-Faculty Advisor for the Board Game Club. He is also a PhD student whose field of research is Gamification in Student Programming. He enjoys playing (and mostly losing) almost any type of game and likes to work in multiple game sessions per week whenever possible. An avid solo gamer with an additional interest in tabletop miniatures games, the stay-at-home orders of the pandemic were not particularly concerning as there was always painting to do and terrain to build. Stefan is also a book and movie collector and a huge football fan (go CHIEFS!)